How to install on your phone

What device do you have?
Back
Installing your eSIM iOS

Below is a step by step guide on installing your eSIM on your iPhone.

1

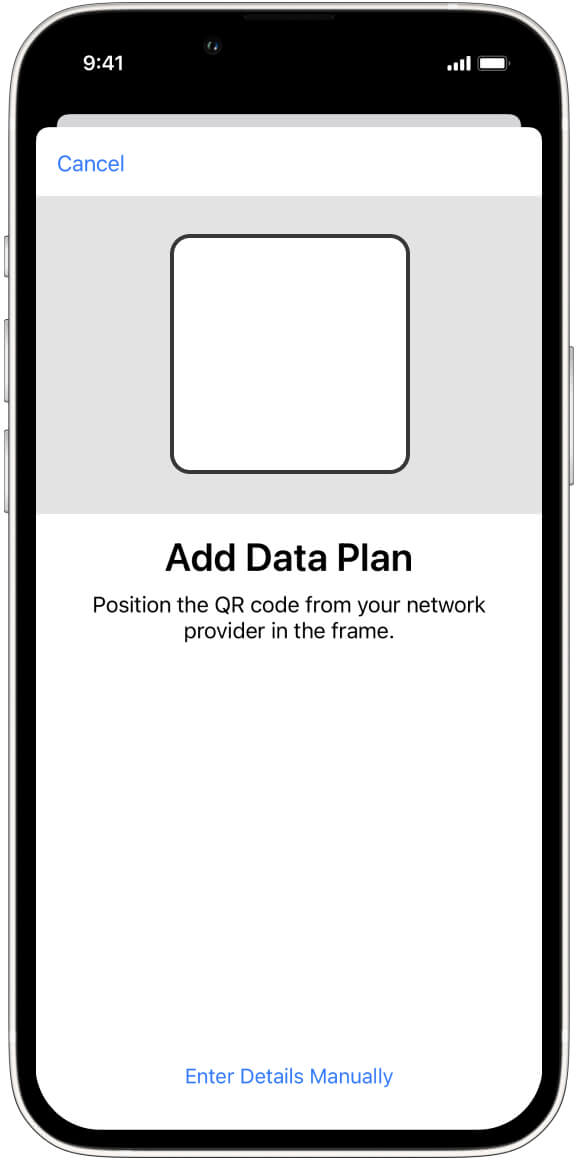
Scan your unique QR code

Once purchased, you’ll receive a QR code via the email linked to your Anywhere account.

Using your phone’s camera, scan it and follow the steps below. If your camera is broken or you can’t scan the QR code, then you’ll have the option to enter the details manually.
2

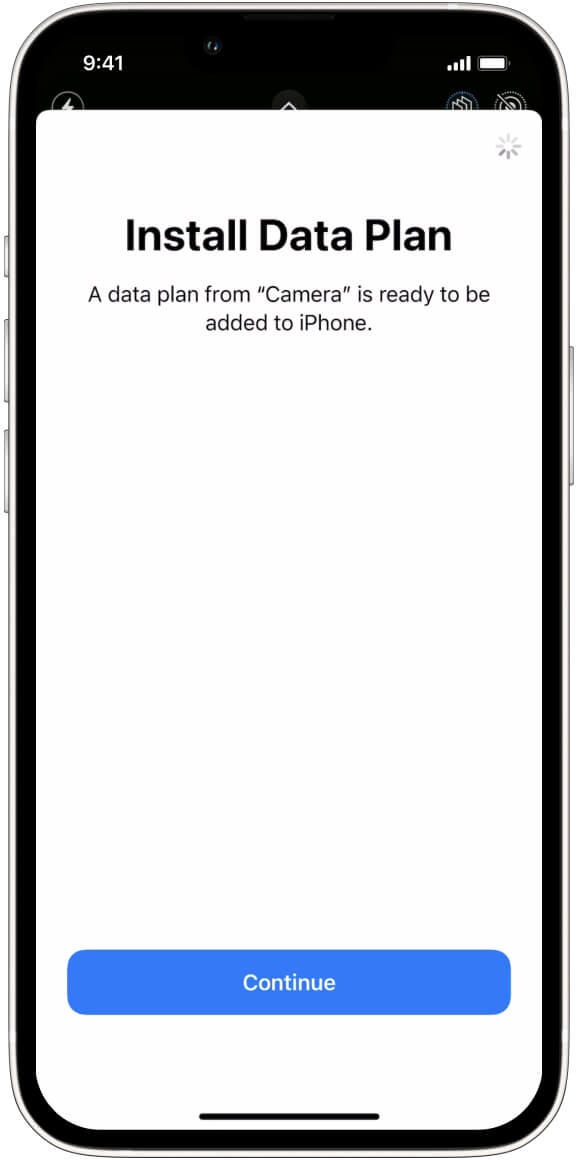
Install Data Plan

You’ll receive a prompt window like this, press continue. This is confirming that you wish to add an additional data plan to your device.
3

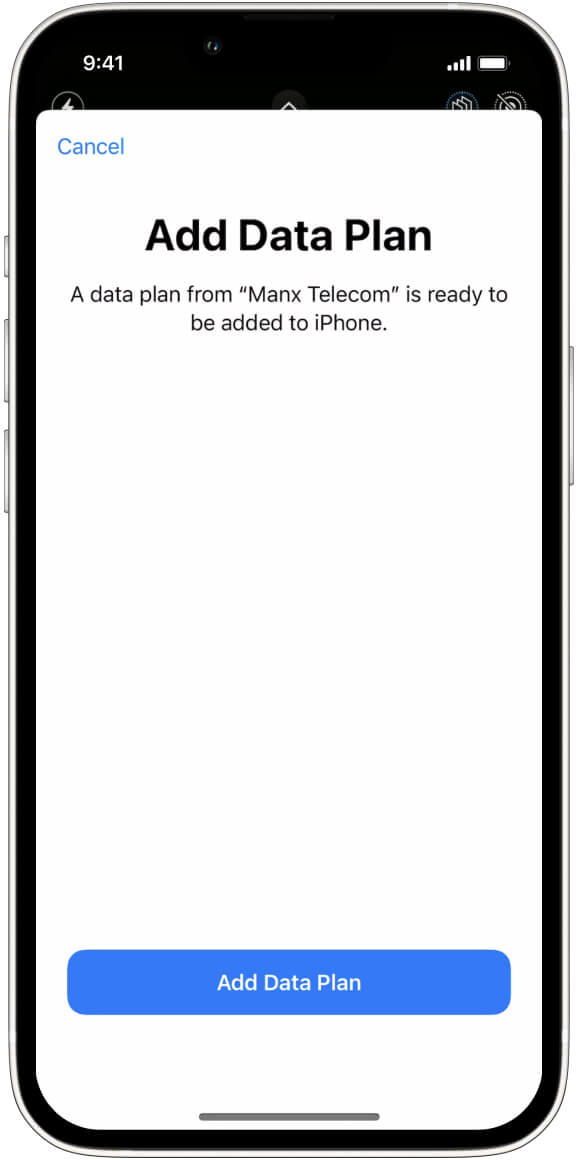
Add Data Plan

A second prompt window will appear, it will say ‘A data plan from Manx Telecom..’ press ‘Add Data Plan’
4

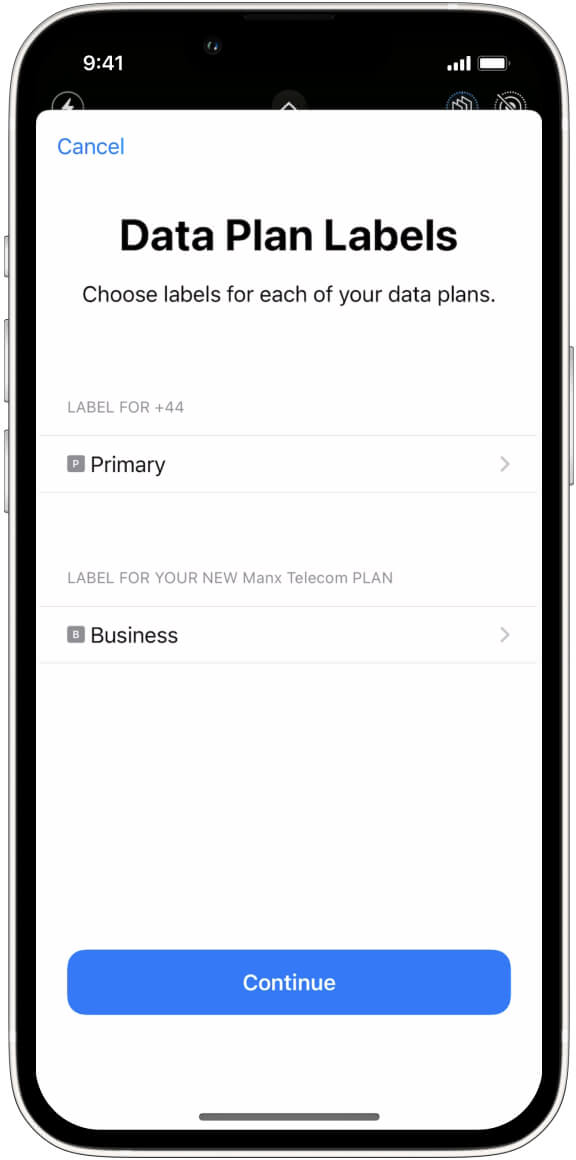
Data Plan Labels

When you add a second data plan to your device, you’ll have to option to customise its name ‘Primary, Business, Travel or even change the name – it’s entirely up to you how you’re going to use the plan.

If you change your mind later, no problem. Head to Settings, tapping Mobile Data and then the number whose label you want to change.
5

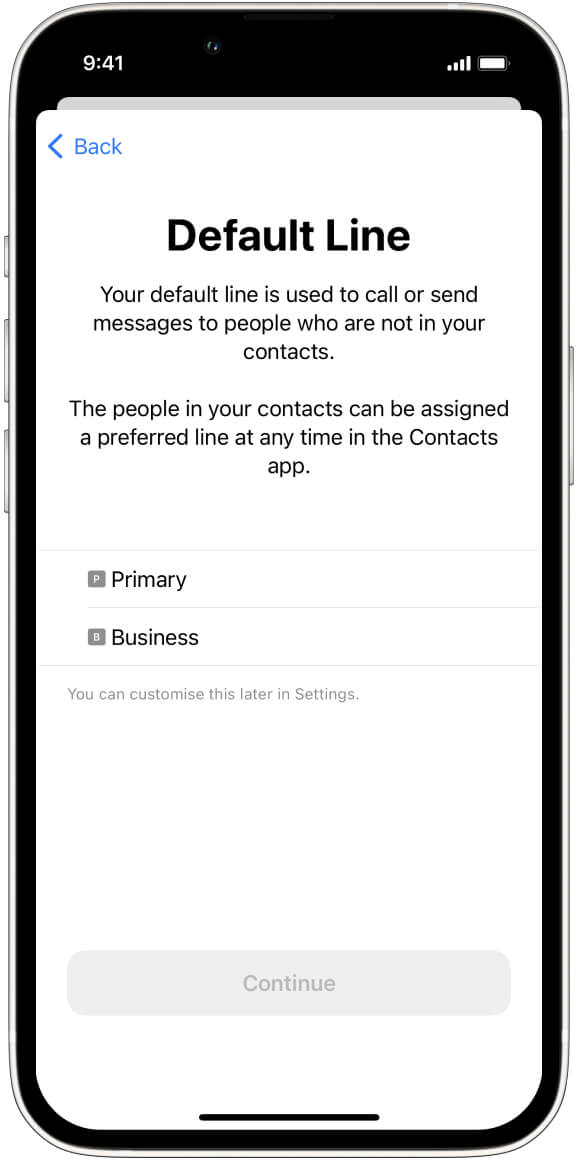
Default Line

From the labels you’ve selected, choose which one will be your default line if people were to call or send a text message.

You’ll also have the option to assign certain contacts to a preferred line, keep scrolling for that assistance.
6

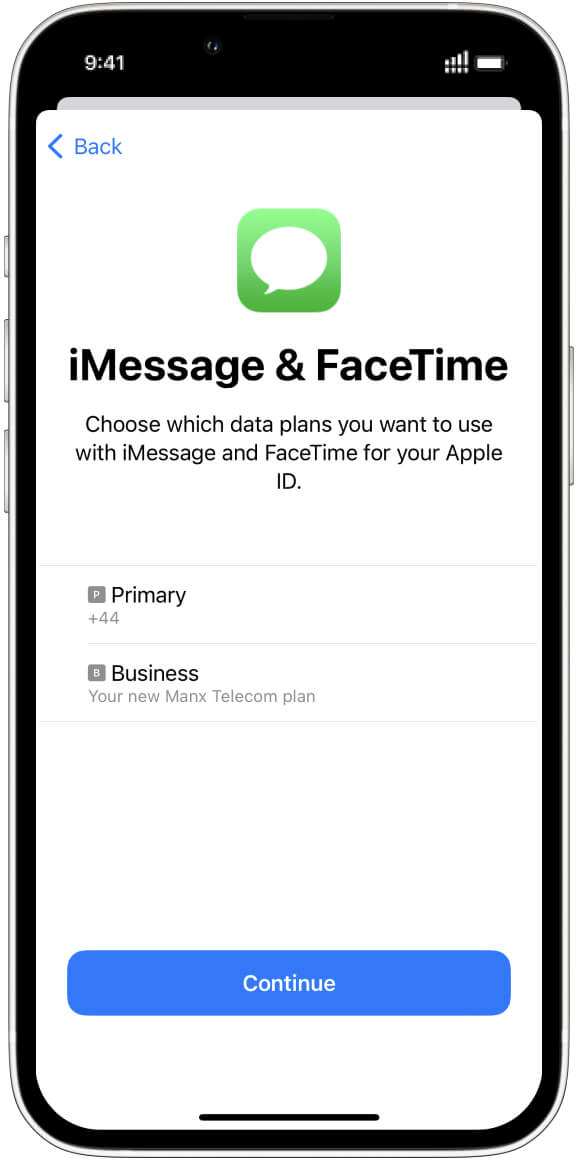
iMessage & FaceTime

Select which plan you would like to default to for iMessage and FaceTime. This will allow you to receive, make calls or texts via that set mobile number. You can always change this at a later stage in settings.
7

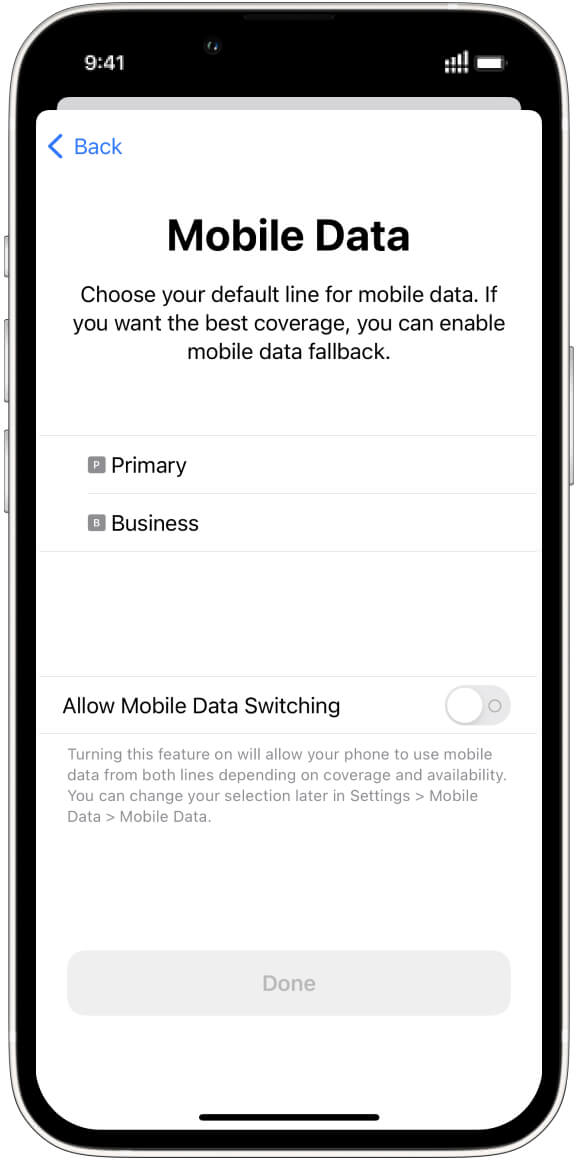
Mobile Data

Select which plan will be your main source of internet connection, whether it’s browsing the web or scrolling on social media.
‘Allow Mobile Data Switching’ if you are using your Anywhere eSIM for improved internet quality, then we’d recommend switching this on.

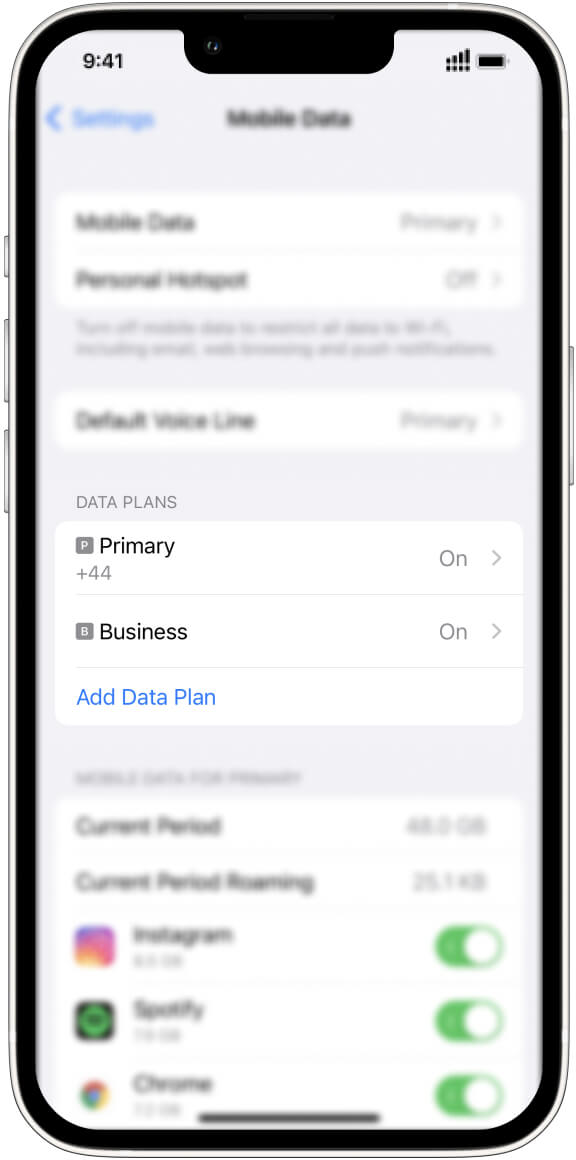
And that’s it!!!

You won’t receive a pop-up saying it’s complete. But at the top right side of your iPhone you’ll see four more extra dots below your mobile signal. This means a second data plan has been added – remember if you head to settings have a look at ‘Mobile Data, Calls or Message’ to change the settings.

Check out Apple’s guide if you wish to learn more

!

If you’re struggling - give us a call 01200 400 010

Our UK based customer service assistants are there for you 9:00am till 5:30pm Monday - Friday
Back
Installing your eSIM Android

Below is a step by step guide on installing your eSIM on your Android phone.

1

Let's begin

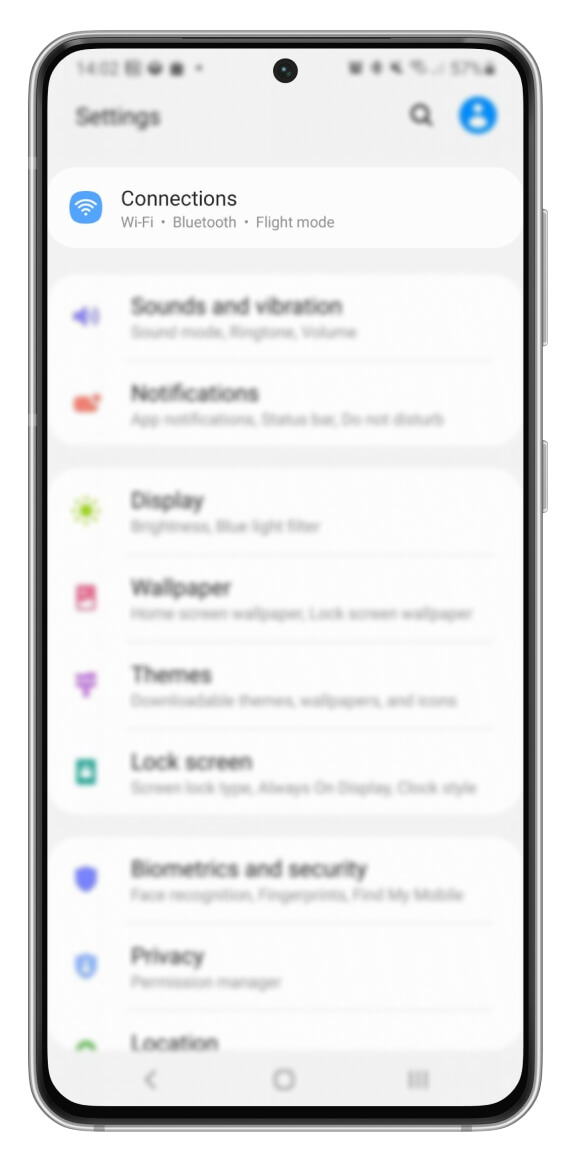
Go to Settings
Connections or Mobile network
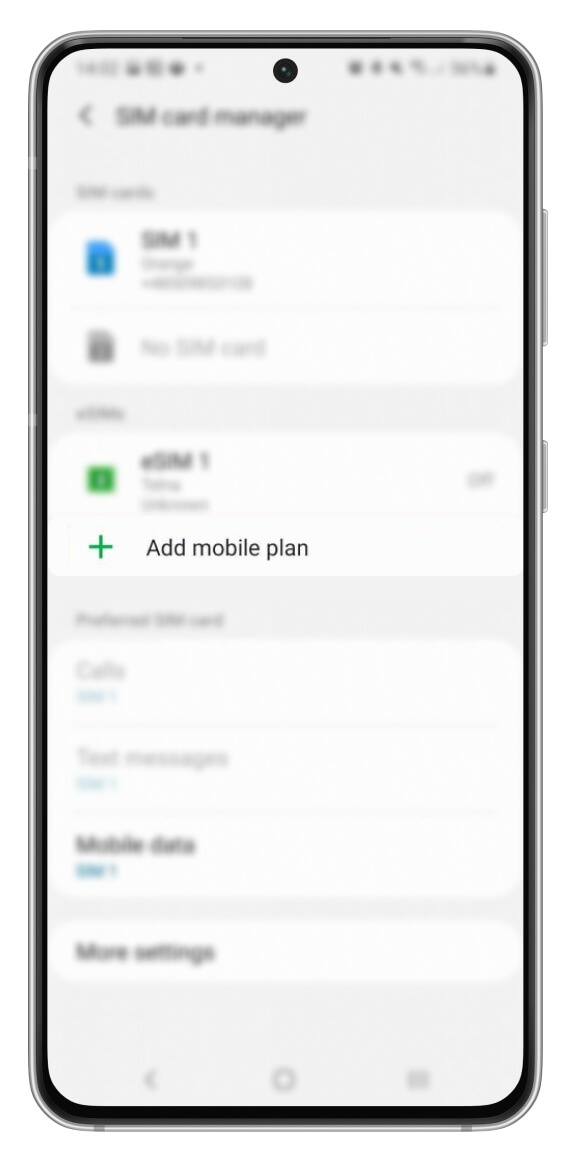
SIM card manager or SIM management
2

Adding eSIM

Tap (+) add mobile plan or (+) Add eSIM
3

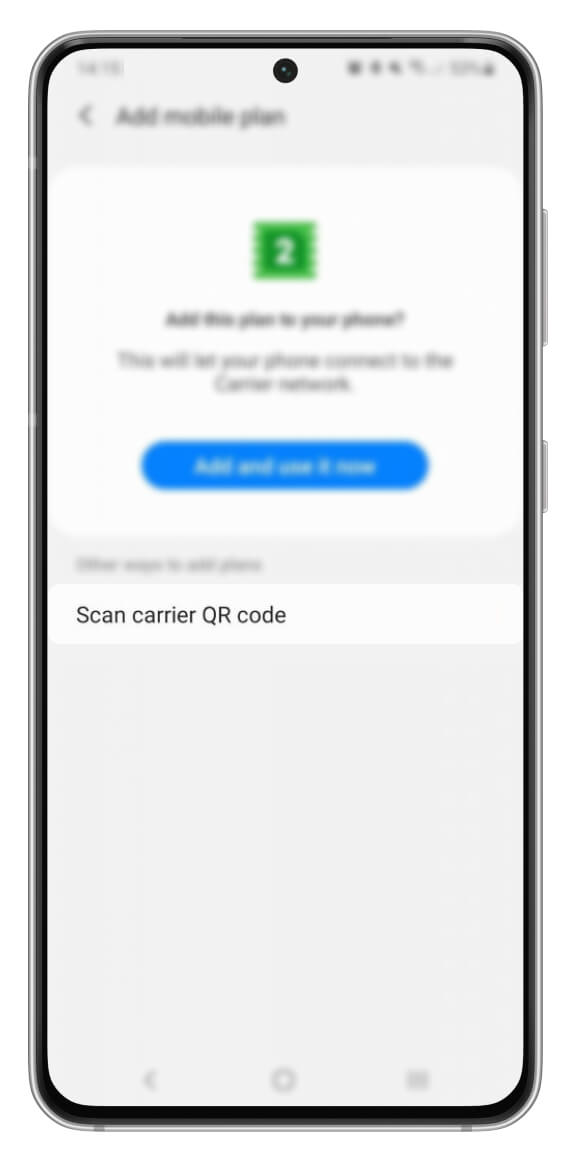
Add using QR code

Tap ‘Scan carrier QR code’

When you’ve purchased your eSIM, we’ll send you, via the email you set-up with, your unique QR code.
4

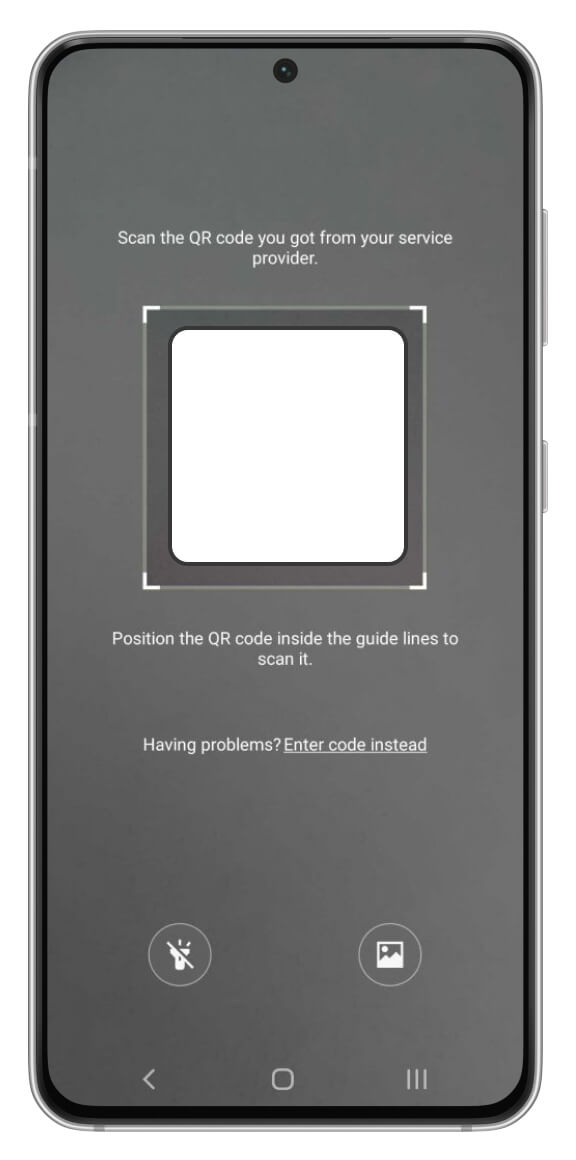
Scan the QR code

Find and scan your unique QR code
*Make sure you’re connected to WiFi

There’s some minor differences with Google Pixel and Microsoft
when installing, check their guides out for more information.
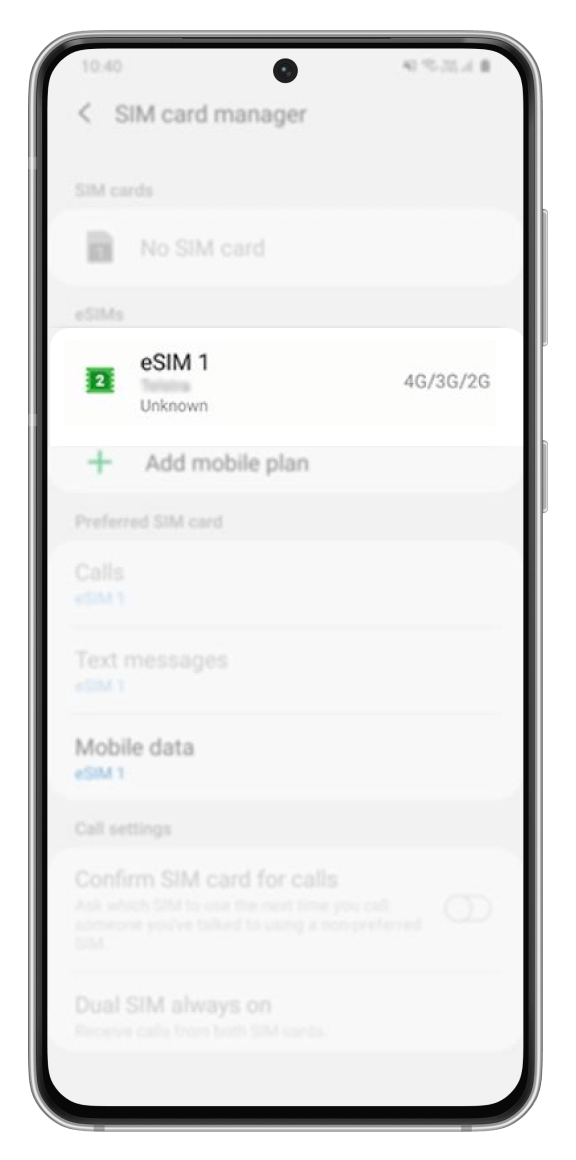
And that’s it!!!

You can manage your eSIM in ‘SIM card manager’ in Settings > Connections > SIM card manager.

!

If you’re struggling - give us a call 01200 400 010

Our UK based customer service assistants are there for you 9:00am till 5:30pm Monday - Friday